Laser Cutting: How to Make Christmas Ornaments (Beginner)
No design skills or PC needed! Buy ready-made designs and create your own unique piece with paint and decorations.
“I can’t create design files” “I don’t have a computer” - No problem!
Laser cutting design files can be purchased from Etsy and other sites for just a few dollars. Add your own paint and decorations to create a one-of-a-kind ornament.
Materials
- Plywood 3mm (for ornament body)
- Acrylic paint・Paint markers (red, green, gold, silver, white, etc.)
- Decoupage glue
- Decoration materials (beads, glitter, ribbons, stickers, etc.)
- String or ribbon (for hanging)
Equipment & Software
- Equipment: xTool P2S 55W (CO2 Laser Cutter)
- Software: xTool Studio
- Design Files: Provided by instructor or purchase from Etsy
Please check the Equipment List for currently available machines.
How to Make (Total Time: About 45 min - 1 hour)
Process Overview
Import design data in xTool Studio (5 min)
Set material and execute cut (15-20 min)
Gently remove parts after cutting (2 min)
Paint in your favorite colors (15-20 min)
Add beads and glitter for decoration (15-20 min)
STEP 1: Import Design Data
Import the design data in xTool Studio.
Receive the file from your instructor or use downloaded/purchased data from the following sites.
Where to Get Design Files
| Site | Features |
|---|---|
| Etsy | Paid, high-quality designs |
| Vecty | Free available, 953 files |
| 3axis.co | Free, 595 files |
| FreePatternsArea | CC BY 4.0 License |
⚠️ License Notice: Always check each site’s terms of use and comply with their licenses.
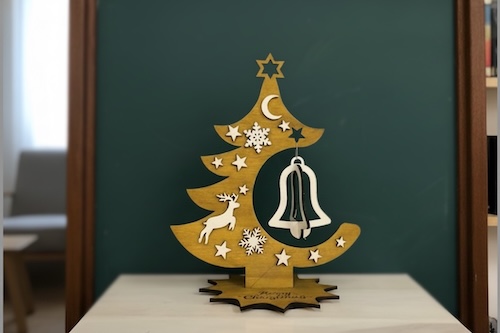
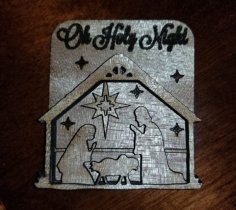
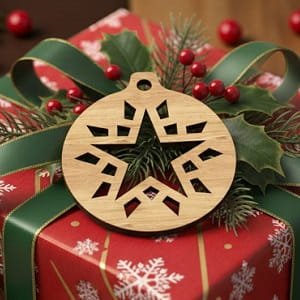
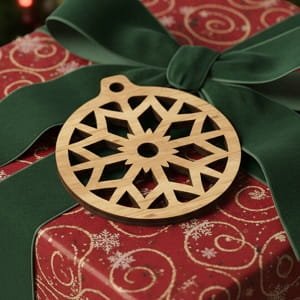
Design Examples Available

STEP 2: Laser Cutting

Set the material and execute the laser cut.
For detailed operating instructions, please refer to:
⚠️ Never leave the machine while cutting!
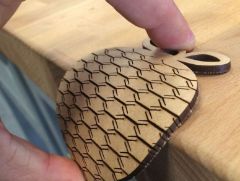
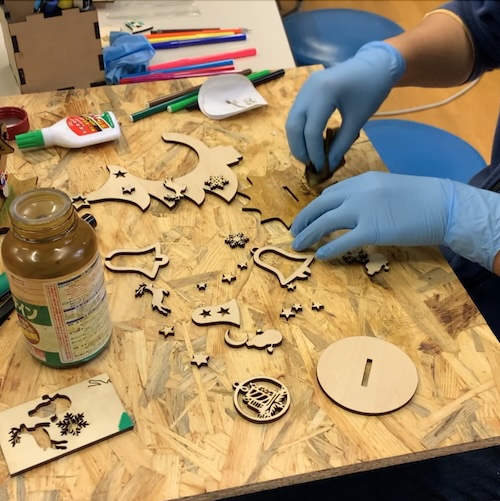
STEP 3: Remove the Parts
After cutting is complete, gently remove the parts.
*Thin parts break easily - handle with care.
STEP 4: Paint
Paint freely in your favorite colors using oil stain, acrylic paint, paint markers, etc.
STEP 5: Decorate
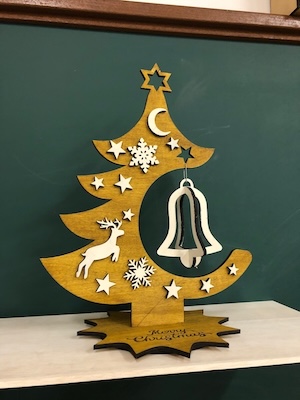
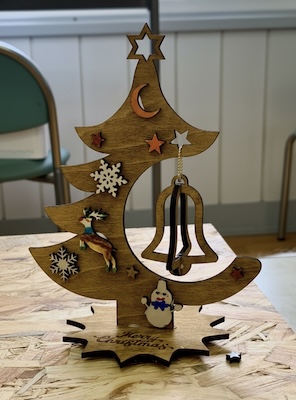
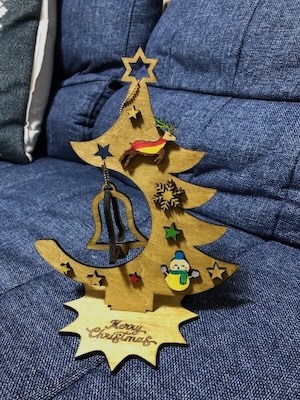
Add decorations with beads and glitter to complete!
Congratulations! Your unique ornament is complete!
Parameters Used
These parameters are for the xTool P2S 55W. Parameters vary by machine and material, so always do a test cut to find the appropriate values.
| Material | Process | Speed | Power | Passes | Time | Notes |
|---|---|---|---|---|---|---|
| Plywood 3mm | Cut | 15mm/s | 60% | 1 | ~10-15 min | Varies by design complexity |
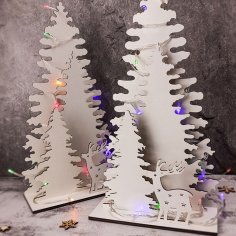
Variations
Try Different Designs
- Snowflakes
- Reindeer
- Stars
- Santa Claus
- Bells
Try Different Materials
- Acrylic: Clear and sparkly finish
- Colored plywood: Beautiful without painting
Make It a Gift
Add names or dates for a special personalized present.
Summary & Impressions
- Design files are provided, so beginners can feel confident
- Painting and decorating let you express your personality
- Takes about 1 hour - perfect for workshops
- Great as gifts for family and friends