· FabLab Westharima Team · Laser Cutter · 2 min read
Laser Processing: How to Make Original Cork Coasters
Making original cork coasters from hand-drawn illustrations. Explains data creation in Illustrator, laser engraving parameter adjustment, and how to use jigs.
I’ve compiled materials, equipment, software used, and how to make them as a reference when I challenged “making original cork coasters” based on my hand-drawn illustrations. I hope this article can be helpful for those who are challenging this for the first time like me.
Materials
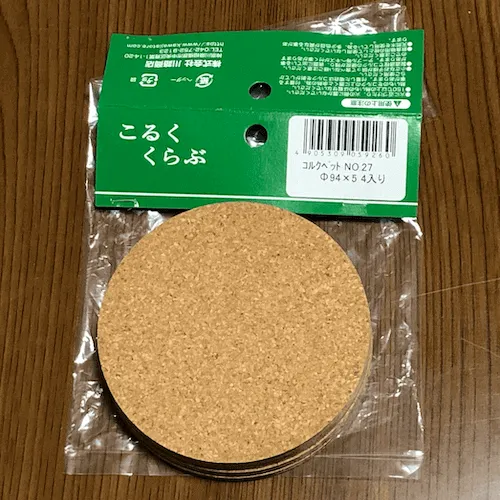
- Cork coaster (cork pet) approx. φ94mm, thickness 5mm
- MDF board thickness 6mm (*for jig)
Equipment & Software
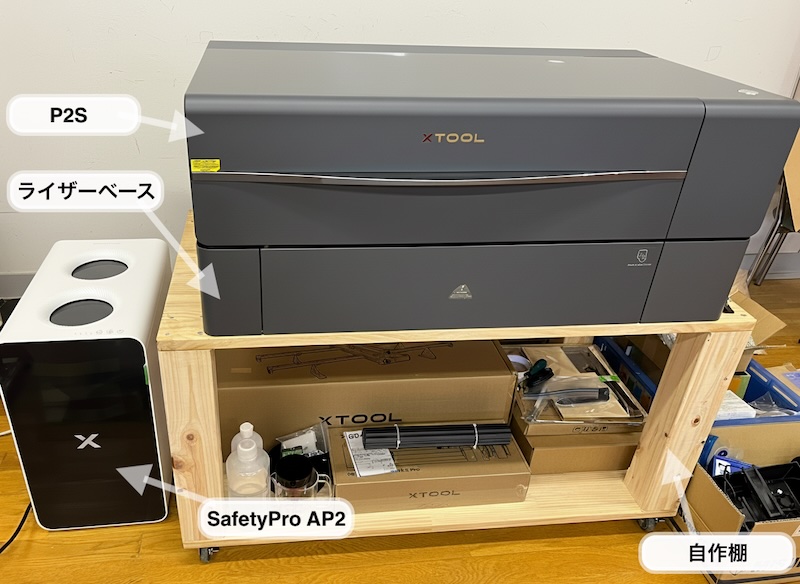
※This article was created in 2021. The equipment currently used at FabLab may differ.
- Equipment used: FABOOL Laser CO2 (CO2 laser cutter)
- Software used: SmartDIYs Creator
- Data creation software: Illustrator
For currently available equipment, please check the Equipment List.
How to Make & Procedure
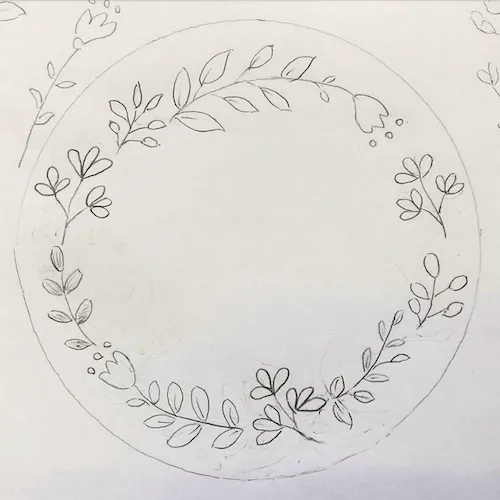
STEP 1: Create Draft
Create draft
- I prepared a draft because I’m not yet familiar with path operations in Illustrator.
- If you’re familiar with path operations, you can start from STEP 3-2.
STEP 2: Take Photo
Take photo of draft
STEP 3: Create Data
Create processing data
- Import draft photo into Illustrator
- Create paths based on the draft in Illustrator
- Export path data
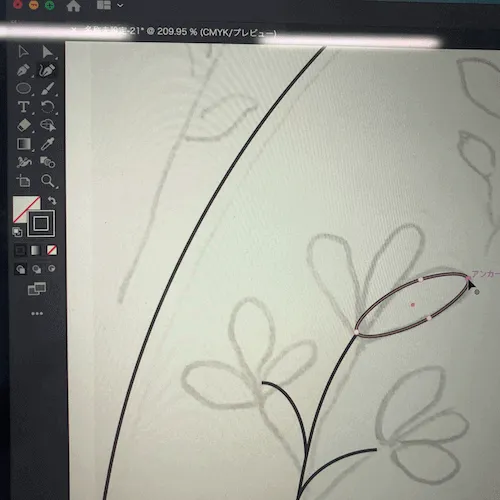
During path creation (modifying ellipse path)

During path creation (utilizing flip function)

Completed!
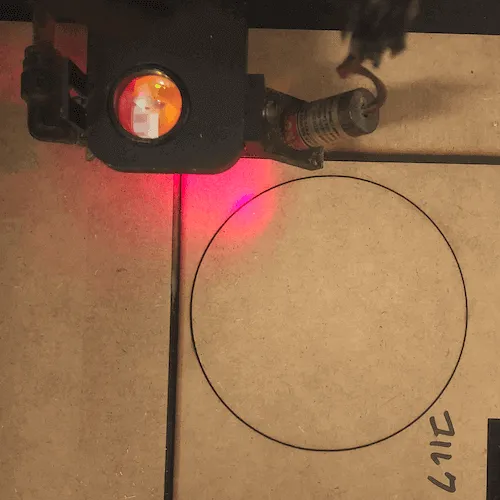
STEP 4: Make Jig
Make jig
I made a jig with MDF board to position the laser processing.
- Create jig processing data, XY position is arbitrary (using the circle from SmartDIYs Creator’s item ‘Asset Catalog’)
- Laser cut the jig outline
- Actually fit the workpiece and modify if there are inappropriate positions
STEP 5: Parameter Adjustment
Laser processing test & parameter adjustment
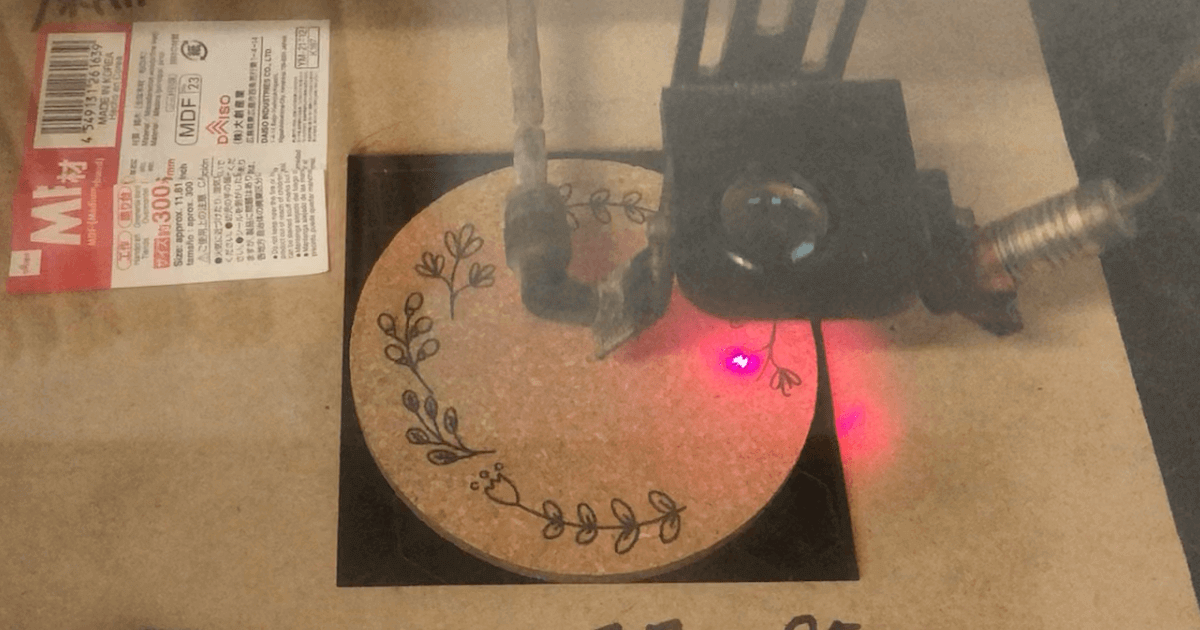
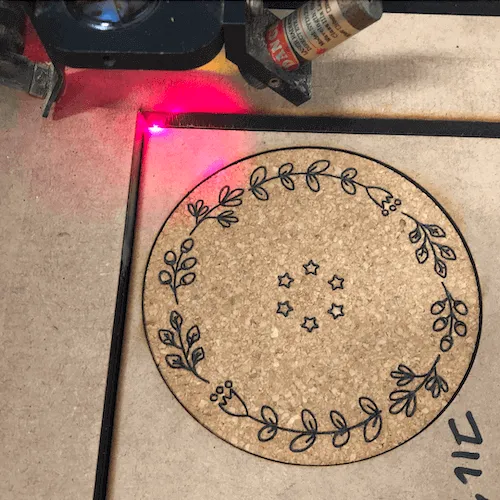
STEP 6: Laser Processing
Laser processing
Parameters for This Project
※These parameters are settings for FABOOL Laser CO2. Parameters vary depending on the equipment used, so be sure to perform test cuts to find appropriate values.
| Material | Processing | Speed | Power | Times | Processing Time | Comments |
|---|---|---|---|---|---|---|
| MDF board thickness 6mm | Cut | 300 | 40 | 2 | 2 min 10 sec | To ensure the jig is cut properly, I set the times to 2 |
| Cork coaster | Engrave | 800 | 11 | 1 | 2 min 10 sec | Power 10 or less: engraving impossible (no laser output) Speed 900 or more: some parts not engraved |
Summary & Impressions
- YouTube and website Illustrator operation manuals were helpful references.
- I’m not yet familiar with path creation in Illustrator, but having a draft made path creation and modification easier.
- Zooming in on the Illustrator screen made fine-tuning paths easier.
- When testing the jig, there was variation in processing material size, so it would have been better to check with multiple processing materials.
- Fine-tuning the workpiece and illustration position was difficult.
- Laser processing test and parameter adjustment was a repetition of trial and error.
- If cork coasters are thin, absorption is insufficient, so I recommend ones with thickness.
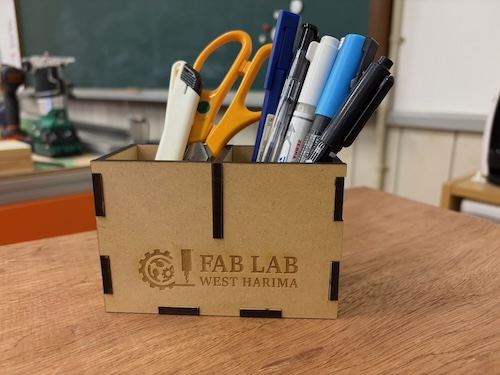
Items made in this article are here