3D Printer Basic Operation Manual
What You Need
| Item | Details | Reference Price |
|---|---|---|
| 3D Printer Body | FDM type, pre-assembled recommended | $150 - $750 |
| Computer | General laptop is sufficient | Existing PC is OK |
| CAD Software | For 3D data creation | Free - Paid |
| Slicer Software | Converts 3D data to G-code | Free |
| Filament (Material) | PLA recommended for beginners | $15 - $30 per 1kg |
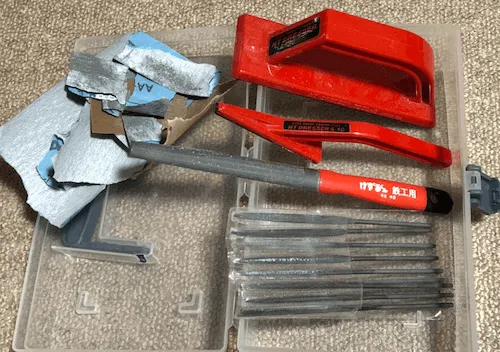
| Tools | Spatula, file, nippers, etc. | $15 - $40 |
Basic Operation Flow
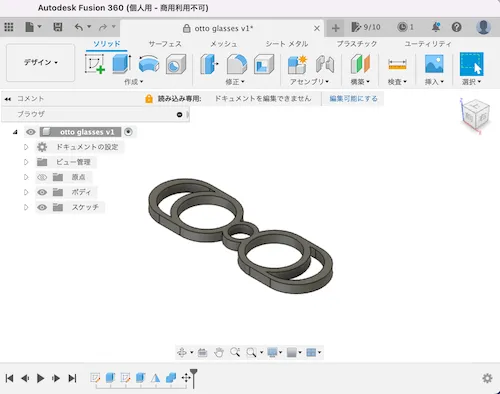
STEP 1: Prepare 3D Data
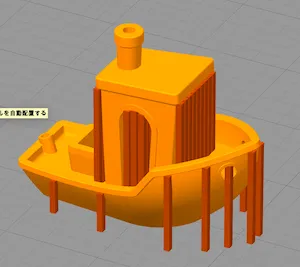
Prepare 3D data in STL format.
- Download: Get STL files from Thingiverse, Printables, etc.
- Create with CAD: Design using Fusion 360, Tinkercad, etc.
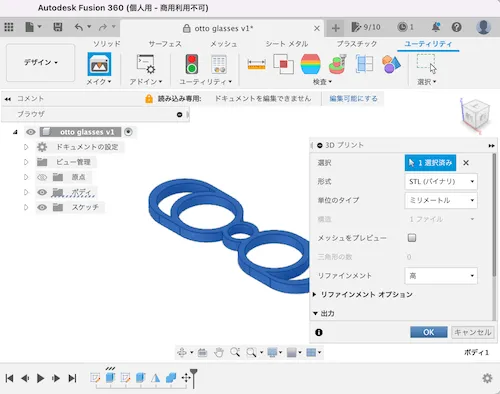
STEP 2: Export in STL Format
- If downloaded: Find and use STL file from files
- If created in CAD: Save in STL format using export function
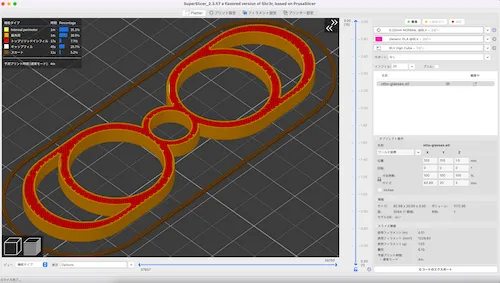
STEP 3: Convert to G-code with Slicer Software
Use slicer software to convert STL data to G-code (.gcode format).
⚠️ Slicer settings determine 80% of output quality
Main Settings
| Item | Recommended (Beginners) | Description |
|---|---|---|
| Layer Height | 0.2mm | Thickness of one layer |
| Infill Density | 15-20% | Internal fill rate |
| Print Speed | 50mm/s | Head movement speed |
| Nozzle Temp | 200°C (PLA) | Follow filament recommended value |
| Bed Temp | 60°C (PLA) | Follow filament recommended value |
| Support Material | As needed | Tree support is easy to remove |
Support Material Example
 |  |
|---|---|
| Without support | With support (brown parts, remove after printing) |
STEP 4: Transfer G-code to Printer
Save G-code to USB memory/SD card and insert into printer.
STEP 5: Set Filament
- Set material on filament holder
- Feed through to nozzle (many printers have auto-load function)
⚠️ Filament is humidity-sensitive, store in airtight container with desiccant after use
STEP 6: Bed Leveling
Adjust distance between print bed (platform) and nozzle.
- Too close: Nozzle clogs, damages bed
- Too far: Filament doesn’t adhere and fails
⚠️ Use auto-leveling if available. For manual, one sheet of paper gap as guide.
STEP 7: Start Printing
Start printing from printer screen.
Print time guide:
- Small items: 30 min - 2 hours
- Medium: 3-8 hours
- Large: 10+ hours
⚠️ Check first few layers, if OK then leave to printer. Avoid going out during long prints.

STEP 8: Remove Modeled Object
- Wait for bed to cool after printing (5-10 minutes)
- Carefully remove with spatula or scraper
STEP 9: Finishing
- Remove support material with nippers
- Sand with file as needed
Troubleshooting
| Failure Type | Symptom | Solution |
|---|---|---|
| First layer won’t adhere | Filament doesn’t stick to bed, becomes stringy | ・Re-adjust bed leveling (one paper gap) ・Raise bed temperature (60°C for PLA) ・Clean bed with alcohol |
| Peels during printing | Object peels from bed | ・Raise bed temperature ・Weaken cooling fan (0% for first few layers) ・Add brim (base) |
| Filament runout | Filament runs out mid-print | ・Check remaining amount before printing ・Check required amount in slicer |
| Filament tangling | Filament stops feeding mid-print | ・Secure through spool hole after use ・Check spool can rotate freely |
| Stringing | Spider web-like strings between objects | ・Lower nozzle temp by 5-10°C ・Enable retraction in slicer |
| Layer shifting | Layers shift or steps appear | ・Tighten printer belts ・Lower print speed (to ~40mm/s) |
| Nozzle clogging | Filament won’t come out | ・Dry filament ・Raise nozzle temp and clean ・Replace nozzle |
Precautions
| Item | Note |
|---|---|
| Modeling Size | Check printer’s maximum size. Divide if too large |
| Time | Even small items take several hours. Plan with margin |
| Copyright | Be careful of copyright for character data, etc. |
| Safety | Manufacturing weapons or dangerous items is illegal |
| Heat/Strength | PLA deforms above 60°C. Use ABS or PETG if heat resistance needed |
| Ventilation | ABS emits odor and trace harmful substances, ventilate |
Related Links
Beginner’s Guide
Resources
- Thingiverse - 3D data download
- Printables - 3D data download
- UltiMaker Cura - Slicer software