Arduino IDE
This guide explains the basic usage of Arduino IDE. Arduino IDE (Integrated Development Environment) is software for programming Arduino boards. Follow these steps to get started with Arduino.
1. Installation
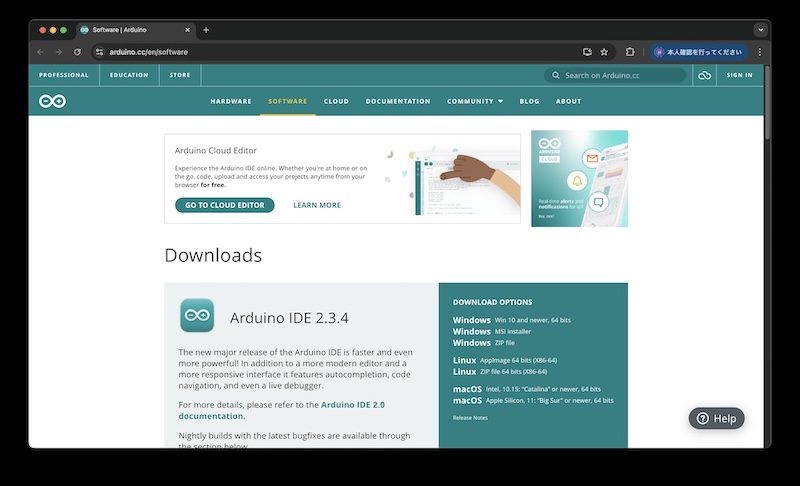
Arduino IDE can be downloaded for free from the official website.
Run the downloaded file to complete the installation.
2. Connecting the Arduino Board
- Connect an Arduino board (e.g., Arduino Uno) to your PC using a USB cable.
- Make sure it is properly connected.
3. Starting Arduino IDE
- Once installation is complete, launch Arduino IDE.
3-0: Arduino IDE 2 Overview
- Overview excerpt from Arduino IDE
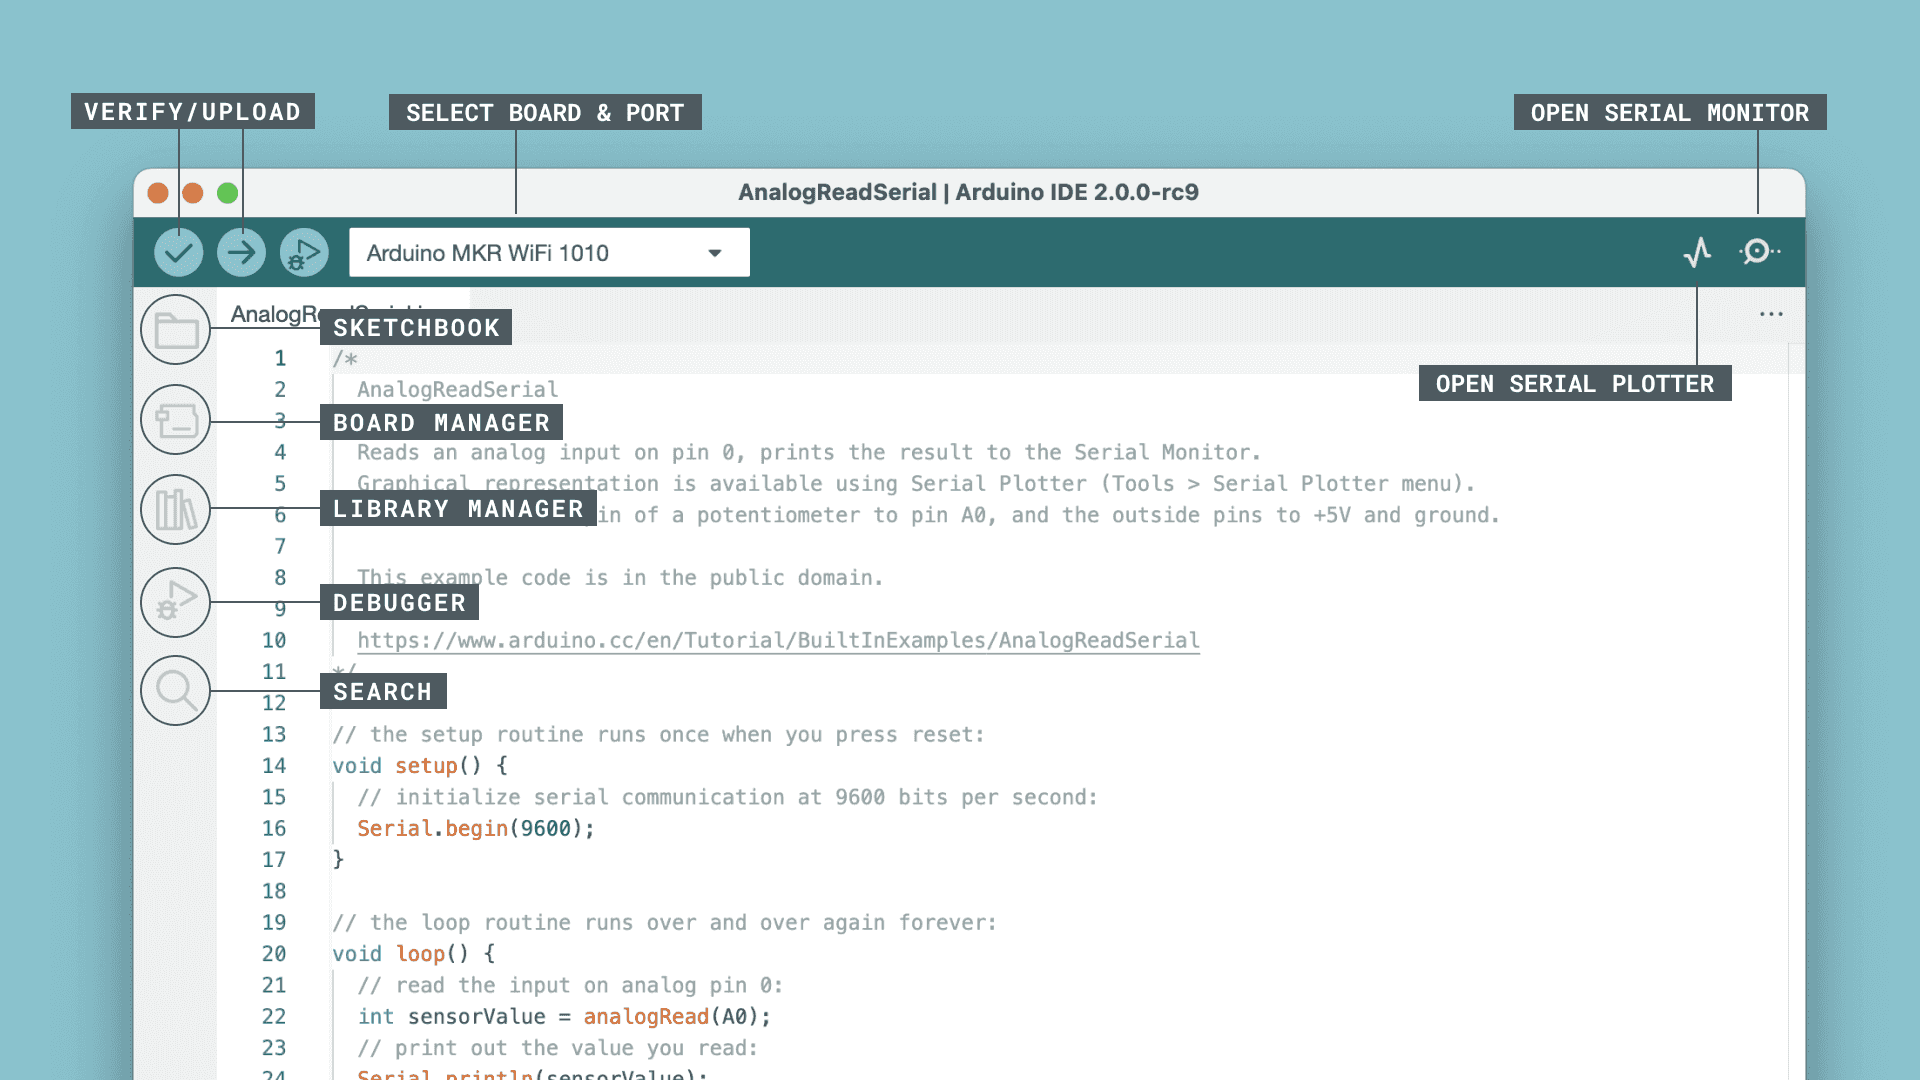
- Verify / Upload - Compiles code and uploads it to the Arduino board.
- Select Board & Port - Detected Arduino boards will automatically appear here with their port numbers.
- Sketchbook - Here you can find all sketches saved locally on your computer. You can also sync with Arduino Cloud or retrieve sketches from the online environment.
- Boards Manager - Browse Arduino and installable third-party packages. For example, to use the MKR WiFi 1010 board, you need to install the Arduino SAMD Boards package.
- Library Manager - Browse thousands of Arduino libraries created by Arduino and its community.
- Debugger - Test and debug programs in real-time.
- Search - Search for keywords in your code.
- Open Serial Monitor - Opens the Serial Monitor tool as a new tab in the console.
4. Board Configuration
Board Selection:
- From the menu, select “Tools” → “Board” → “Arduino Uno” or the type of board you are using.
Port Setting:
- From the menu, select “Tools” → “Port” → the connected port (e.g., COM3).
5. Try LED Blink
- Program Structure: The following LED blink program consists of two main functions:
- setup(): The part that runs only once at the beginning of the program.
- loop(): The part that runs repeatedly after that.
Example: LED Blink Program
void setup() {
  // Set the pin connected to the LED to output mode
  pinMode(13, OUTPUT);
}

void loop() {
  // Turn on the LED
  digitalWrite(13, HIGH);
  delay(1000); // Wait 1 second
  // Turn off the LED
  digitalWrite(13, LOW);
  delay(1000); // Wait 1 second
}
6. Uploading Code
- After entering the code, click the ”→” button (upload button) at the top of the screen. This will transfer the program to the Arduino board.
7. Running the Program
- Once the program is successfully uploaded, the code will run on the Arduino board. For example, with the above code, the LED will turn on and off every second.
8. Modifying and Re-uploading Programs
- After making changes to the program, click the ”→” button again to upload. Changes will be applied immediately.
9. Summary
This covers the basic usage of Arduino IDE. Start with simple programs and gradually try more complex ones.
Supplement: Adding Boards
Arduino IDE is a development environment designed for Arduino, but there are also installable third-party packages. With proper configuration, you can use them. (e.g., ESP32)
0-1. Configuration:
- Open Arduino IDE
- Open “File” menu > “Preferences”
- Add the third-party board URL to the “Additional Boards Manager URLs” field
- Press “OK” to save the settings
0-2. Installing Board Package:
- From the Arduino IDE menu, open “Tools” → “Board” → “Boards Manager”
- In Boards Manager, search for the “third-party board package” in the search box and install it.
0-3: Board Selection
- From Arduino IDE Tools, Board, select the “appropriate board”
Contact
If you have any questions about using Arduino IDE, please feel free to ask our staff.